Basics of Gitlab CICD
I am an SRE Engineer at Rakuten Symphony with 3+ years of experience in cloud infrastructure, automation, and system reliability. Proficient in Kubernetes, Docker, Linux administration, Ansible, and Python scripting. Skilled in CI/CD tools like GitLab, Jenkins, Experienced with monitoring tools such as Prometheus, Grafana. Familiar with Terraform for infrastructure-as-code. I hold a Bachelor's degree in Electronics and Telecommunications from Government College of Engineering, Pune (2021), and have a strong foundation in telecom networking.
GitLab Pipeline Overview
A GitLab pipeline is a powerful automation feature that helps automate the continuous integration and continuous delivery (CI/CD) process for your code. It defines a series of stages and jobs that execute in a predefined sequence, ensuring that your code is tested, built, and deployed efficiently.
Pipelines in GitLab are defined using a configuration file called .gitlab-ci.yml, which is stored in the root directory of the repository. The .gitlab-ci.yml file describes how the pipeline should run, including the jobs, stages, and scripts to be executed.
Key Concepts of GitLab Pipelines
Pipeline:
- A pipeline is a collection of jobs organized into stages. A pipeline is triggered every time changes are made to the repository.
Stages:
Stages are the different steps in the pipeline. Each stage consists of one or more jobs that are executed concurrently, and once all jobs in a stage finish, the next stage begins.
Typical stages include:
Build: Compiling code or preparing assets.
Test: Running unit, integration, and other tests.
Deploy: Deploying the application to different environments (e.g., staging, production).
Jobs:
Jobs are the individual units of work in a pipeline. Each job runs a specific command or script (e.g.,
npm install,pythontest.py,docker build).Jobs are executed on GitLab Runners, which are agents responsible for running the jobs.
GitLab Runners:
- GitLab Runners are agents that run the jobs defined in the pipeline. They can be shared (available for all projects) or specific to a particular project or group.
Artifacts:
- Artifacts are files generated by jobs (e.g., test results, compiled code, documentation) that are passed between stages or saved for later use.
Dependencies:
- Jobs can depend on other jobs to run. This is managed using dependencies and ensures that a job only runs after certain jobs have completed successfully.

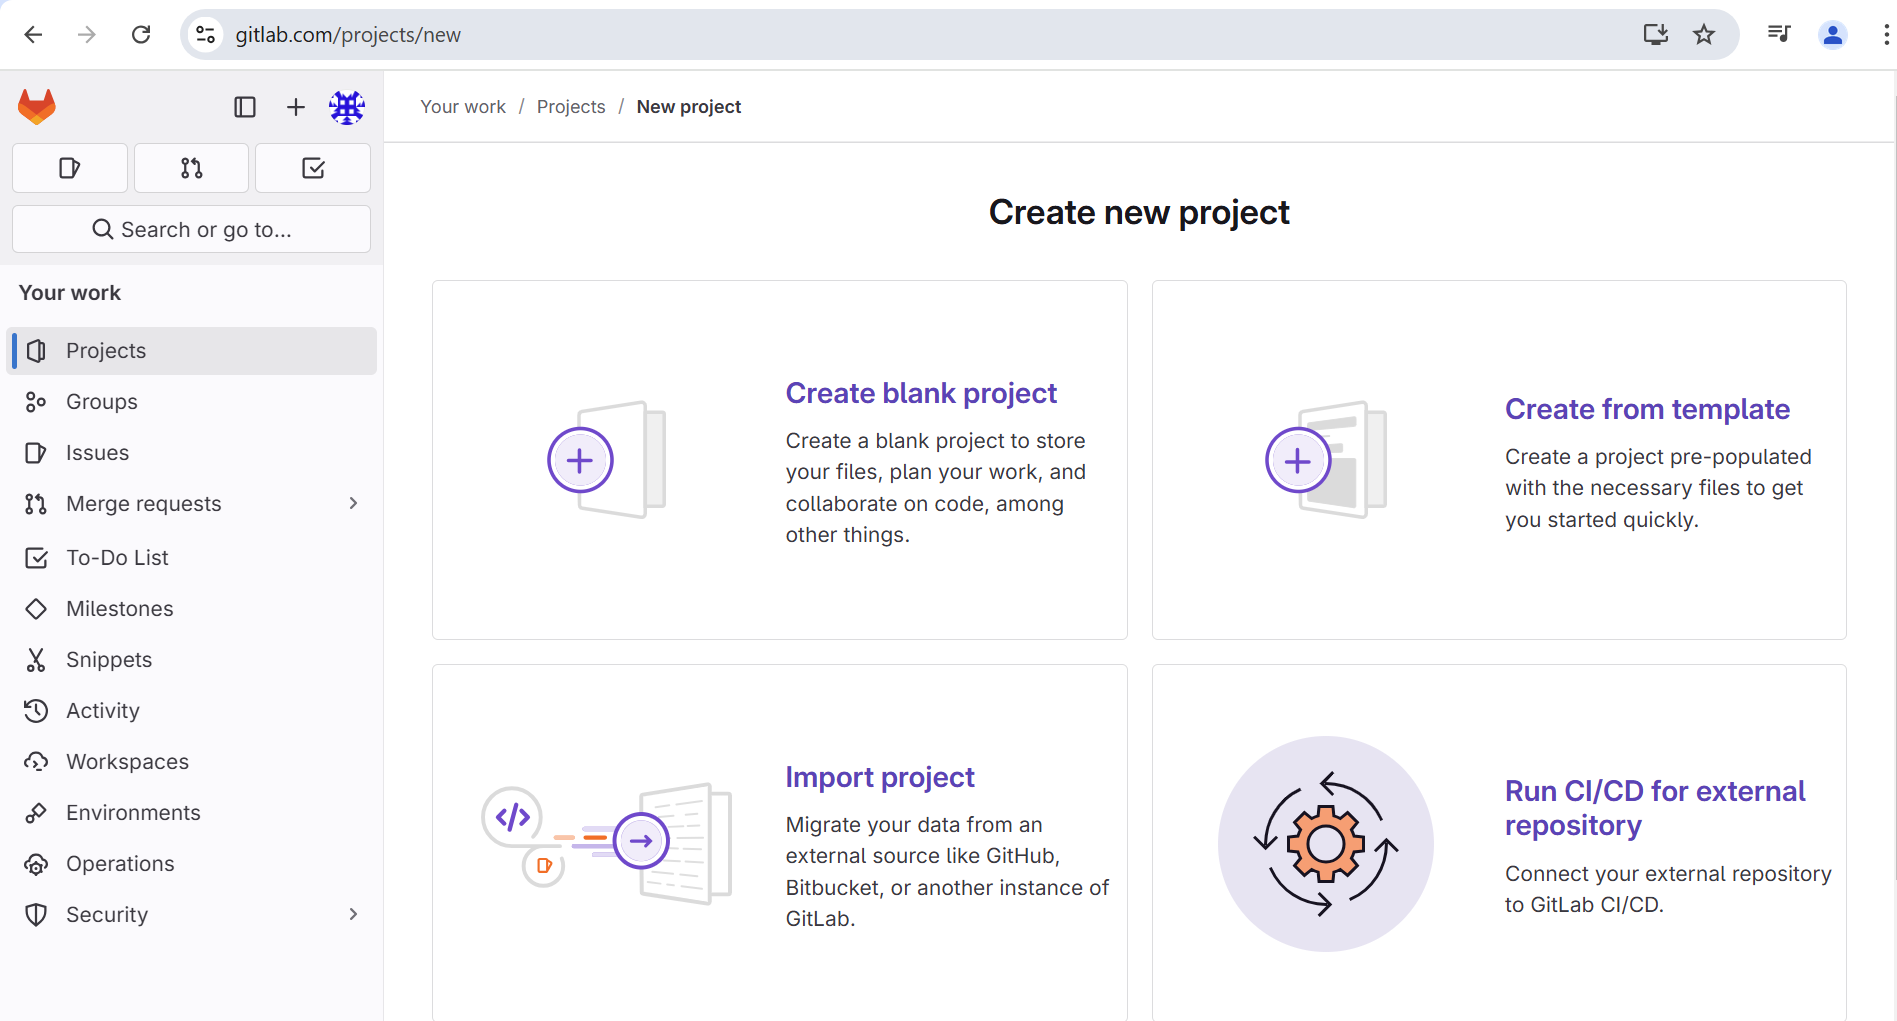
Step 1: Create a New GitLab Project
Log in to GitLab: Go to your GitLab instance and log in with your credentials.
Create a New Project:
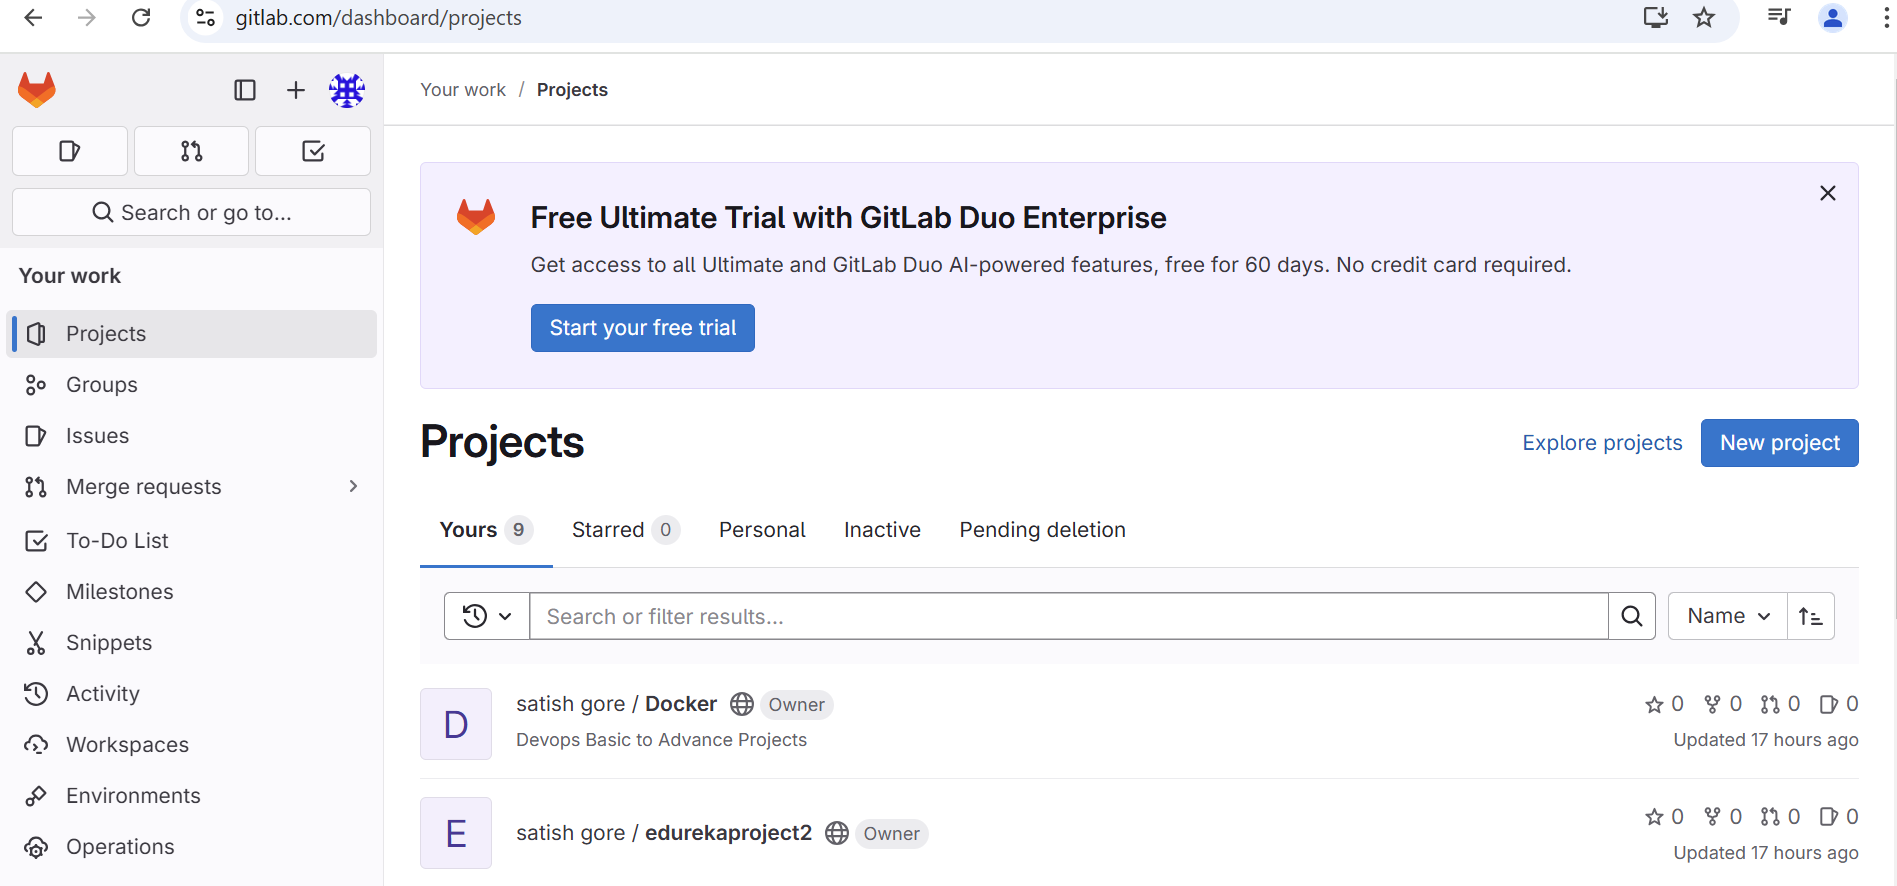
On the GitLab dashboard, click the
New projectbutton.Choose the type of project (e.g., Blank project).
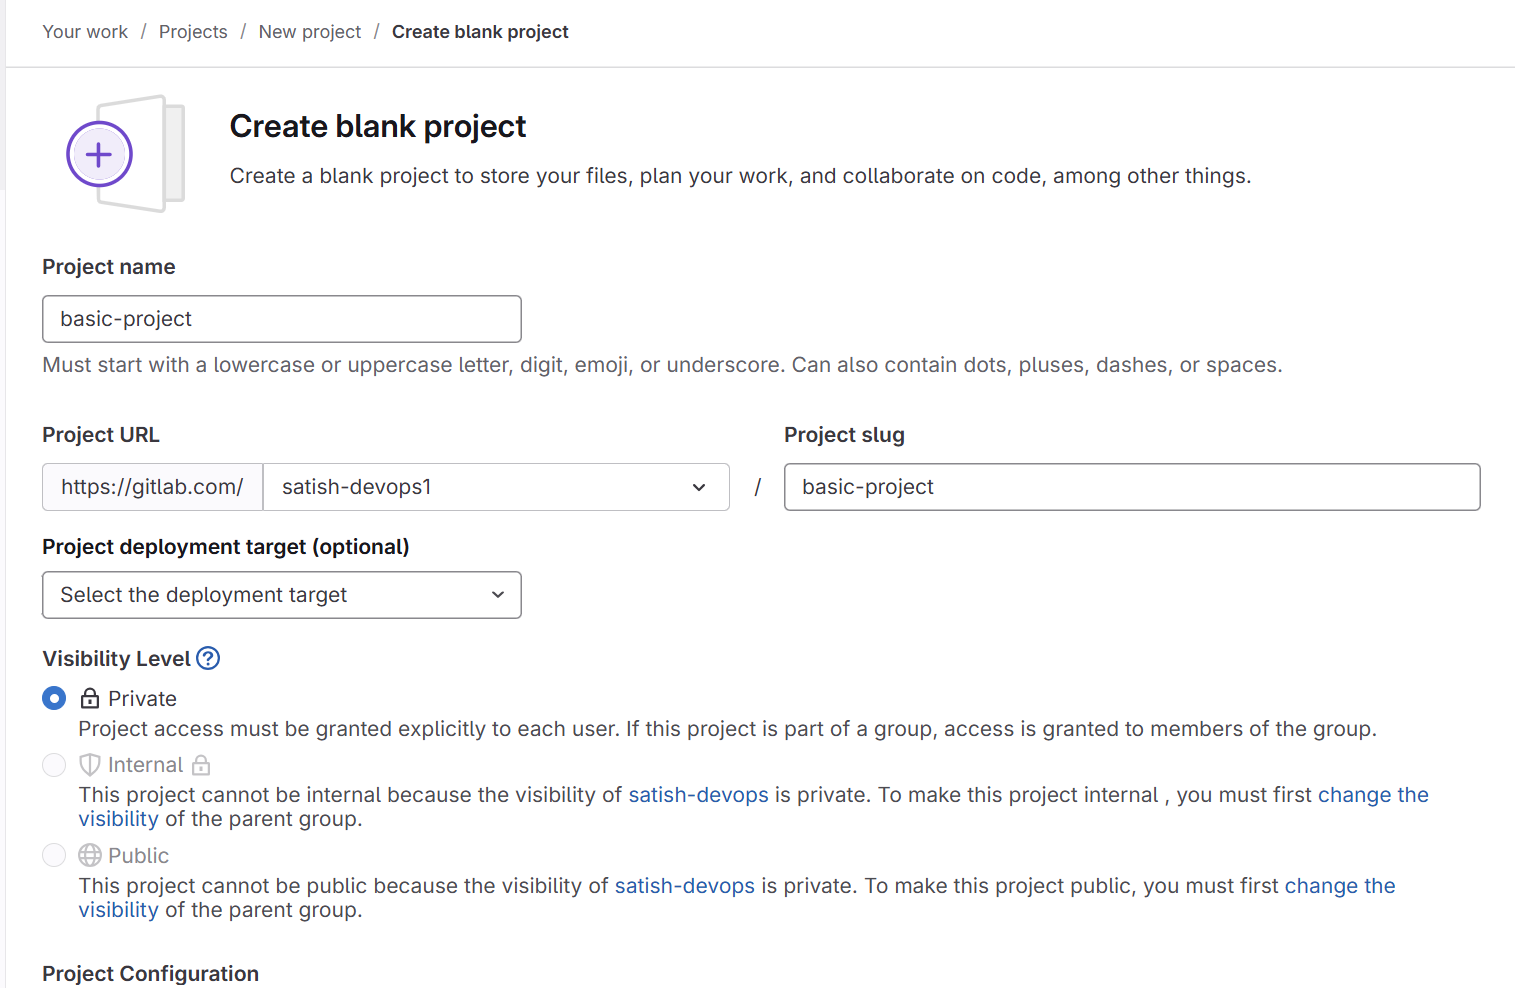
Fill in the necessary details such as:
Project name: Choose a name for your project.
Visibility level: Select whether you want the project to be Private, Internal, or Public.
Click Create project.
Step 2: Set Up a GitLab CI Pipeline Configuration (.gitlab-ci.yml)
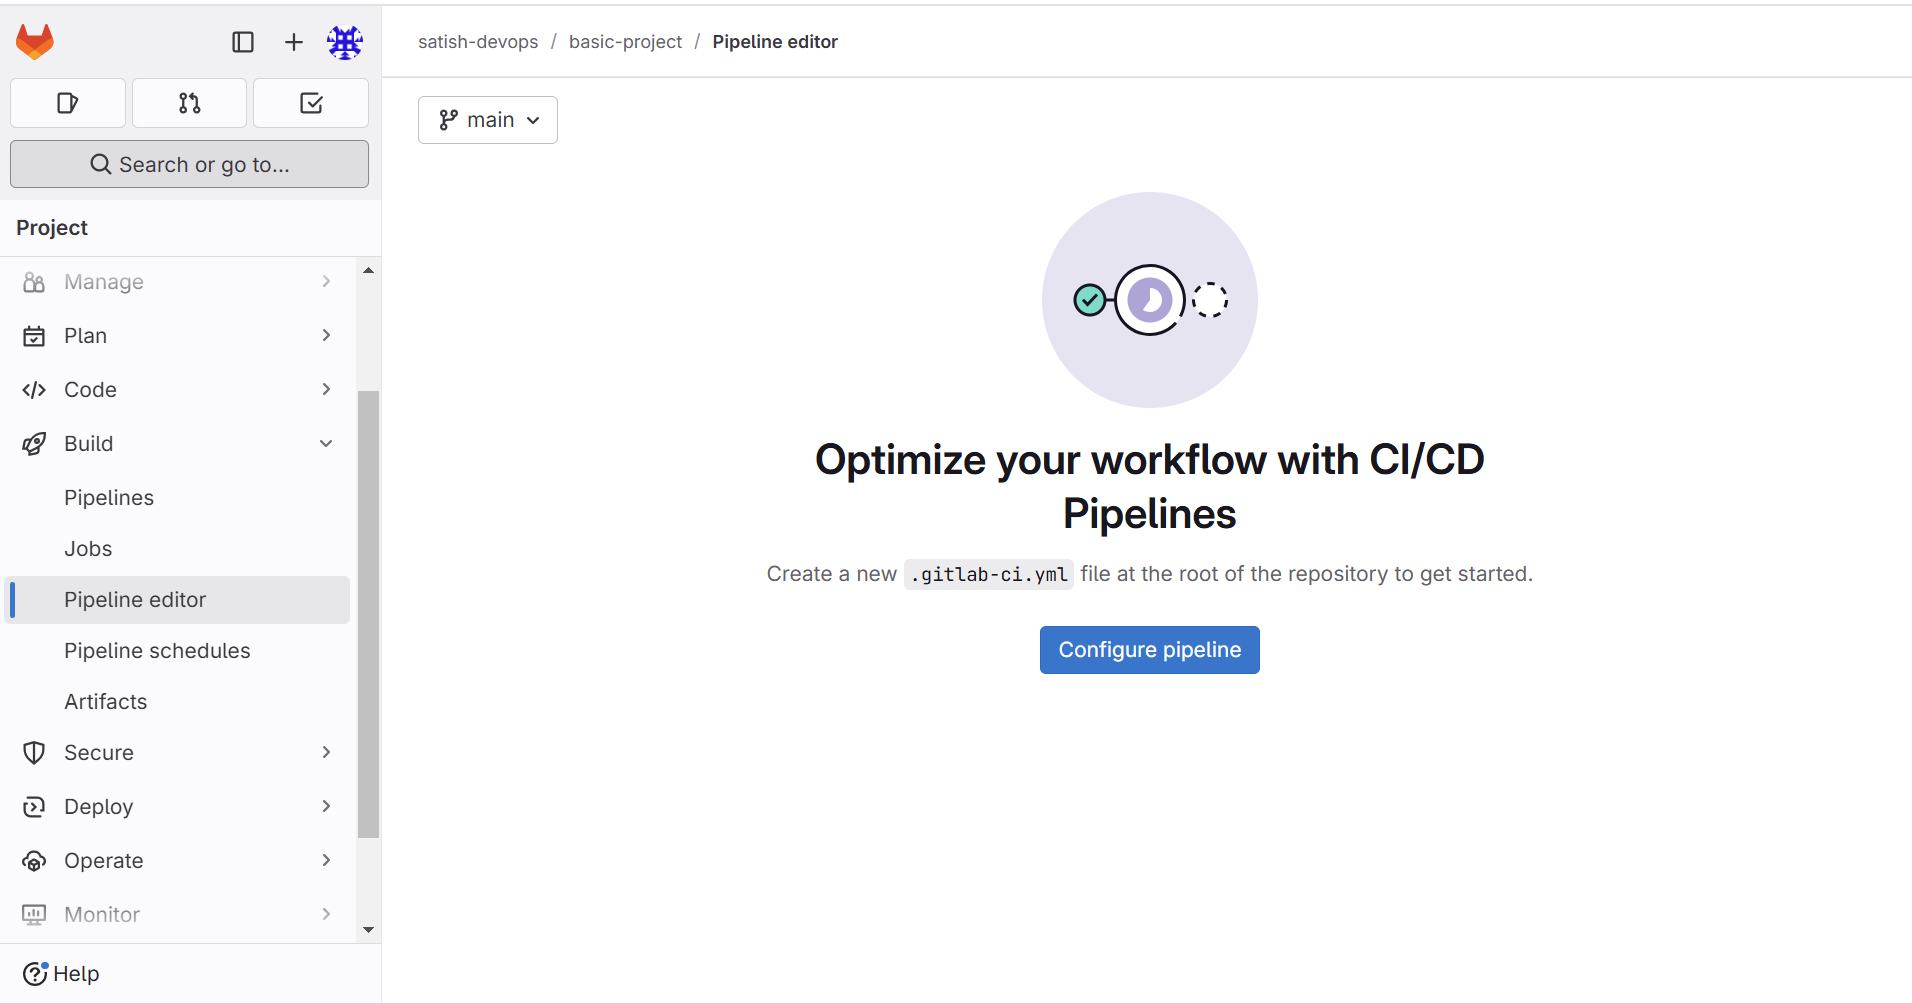
Navigate to your project: Once the project is created, you'll be taken to the project’s repository page.
Create the
.gitlab-ci.ymlfile:- In the root directory of your project, create a file named
.gitlab-ci.yml. This file contains the configuration for your CI pipeline.
- In the root directory of your project, create a file named
Step 3: Commit the .gitlab-ci.yml File to Your Repository
Commit the
.gitlab-ci.ymlfile:- Once the
.gitlab-ci.ymlfile is created, commit it to your GitLab repository.
- Once the
- Job 3:
deploy, which depends ontestand also stores artifacts
    yamlCopy codestages:
      - build
      - test
      - deploy

    # Job to build the project
    build:
      stage: build
      script:
        - echo "Building the project..."
        - mkdir build_output
        - echo "Build successful" > build_output/build.log
      artifacts:
        paths:
          - build_output/
        expire_in: 1 hour

    # Job to test the project
    test:
      stage: test
      needs:
        - job: build
          artifact: true
      script:
        - echo "Running tests..."
        - cat build_output/build.log
        - echo "Test passed"
      artifacts:
        paths:
          - test_reports/
        expire_in: 2 hours

    # Job to deploy the project
    deploy:
      stage: deploy
      needs:
        - job: test
          artifact: true
      script:
        - echo "Deploying the project..."
        - cat test_reports/test_report.txt
        - echo "Deployment completed"
      artifacts:
        paths:
          - deploy_logs/
        expire_in: 1 day
Step 4: Trigger the CI Pipeline
Push Changes to GitLab: Whenever you push the
.gitlab-ci.ymlfile to your repository (or any other change), GitLab will automatically detect the presence of the.gitlab-ci.ymlfile and trigger the pipeline.- After you push the changes, go to the CI / CD section of the project, which can be found in the left sidebar under CI / CD.
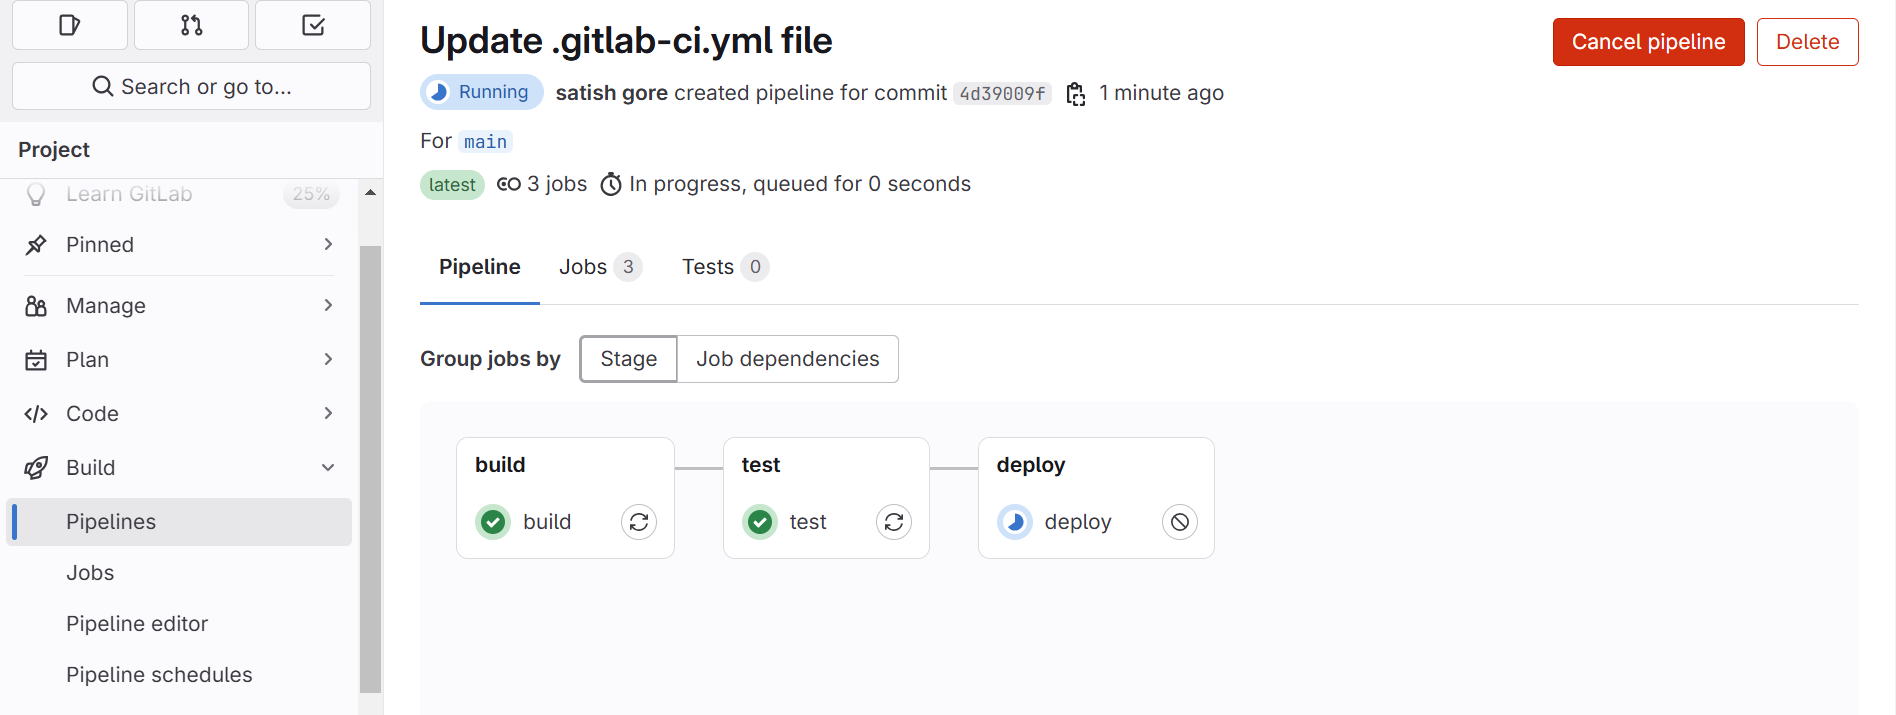
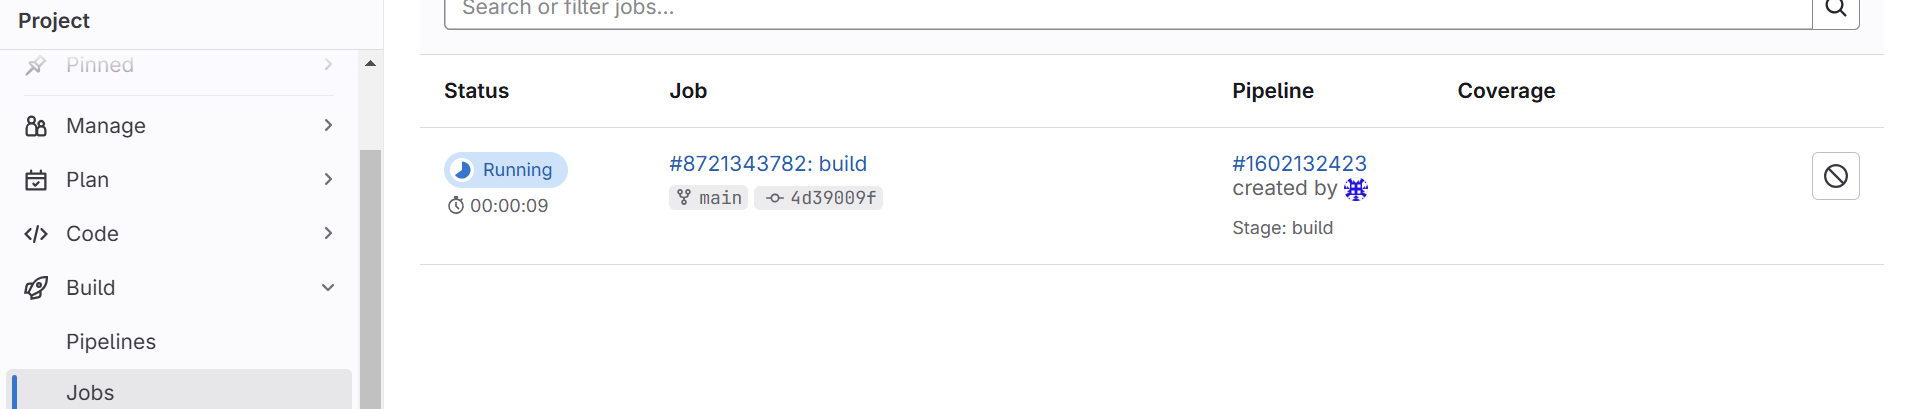
Pipeline Started: You’ll see the pipeline is triggered and will move through the defined stages. If the pipeline doesn't trigger automatically, ensure that
.gitlab-ci.ymlis properly formatted and committed.
Step 5: Monitor CI Pipeline Jobs
Navigate to the Pipelines Page:
In your project, go to the CI / CD section from the left sidebar.
Click on Pipelines. This will show you a list of all pipelines for the project.
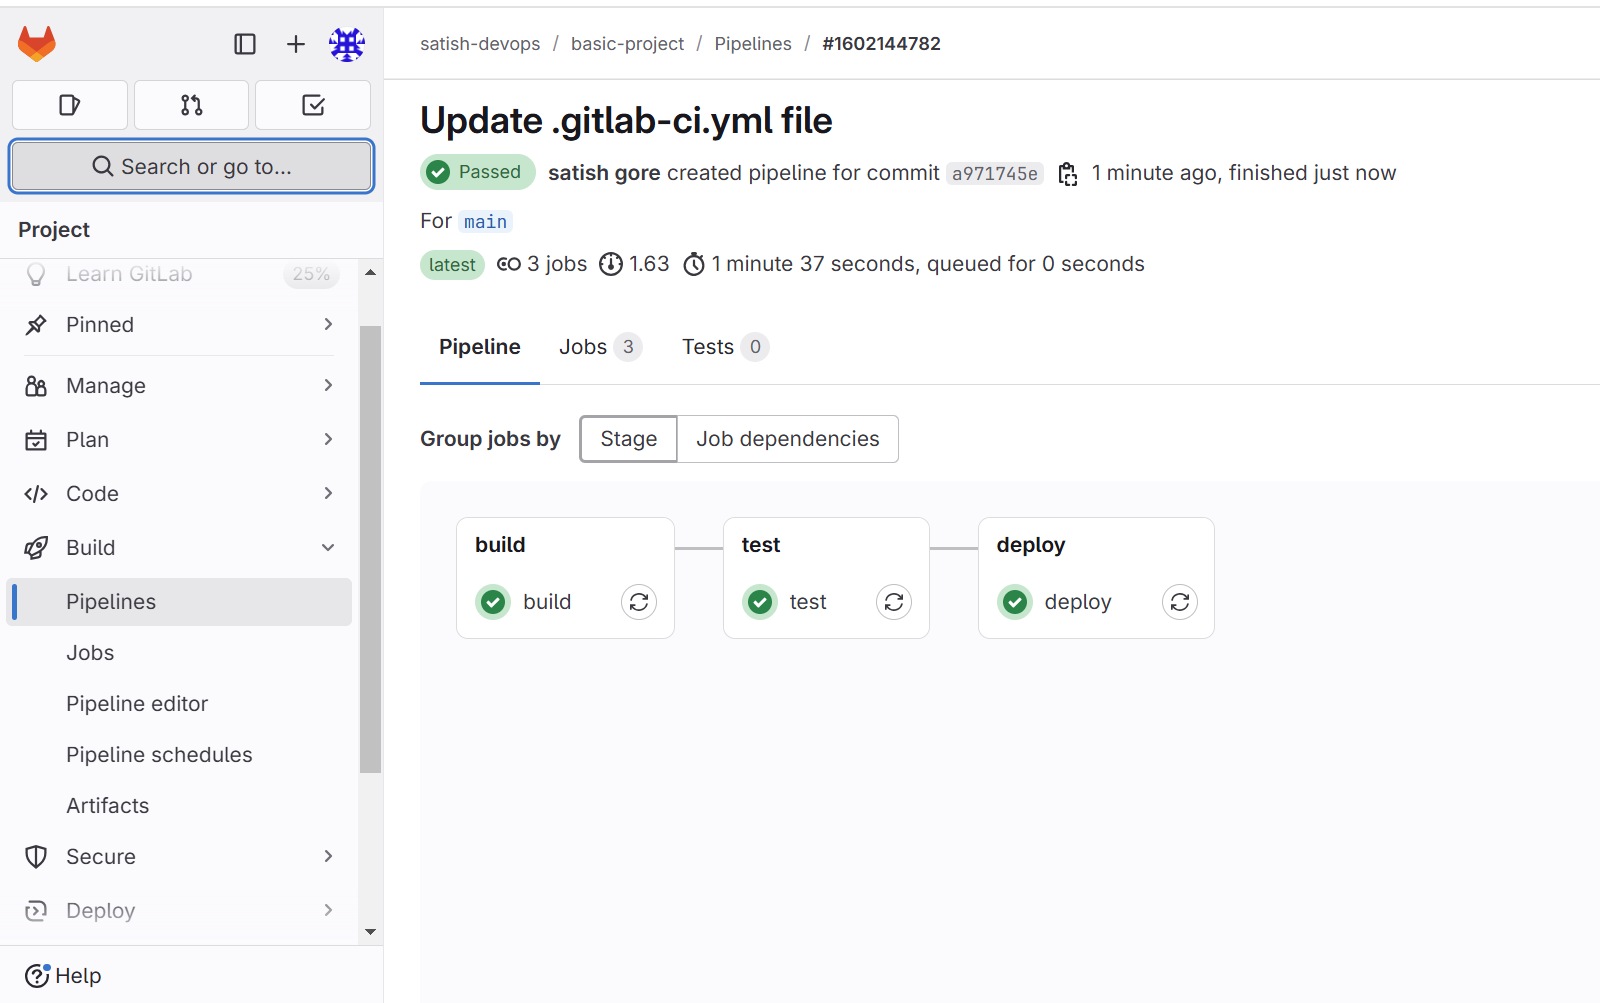
You’ll see the pipeline with a status indicating whether it's running, succeeded, or failed.
View Job Details:
Click on the pipeline entry to see detailed information about each job.
You will be able to see:
The status of each job (success, failed, canceled, etc.).
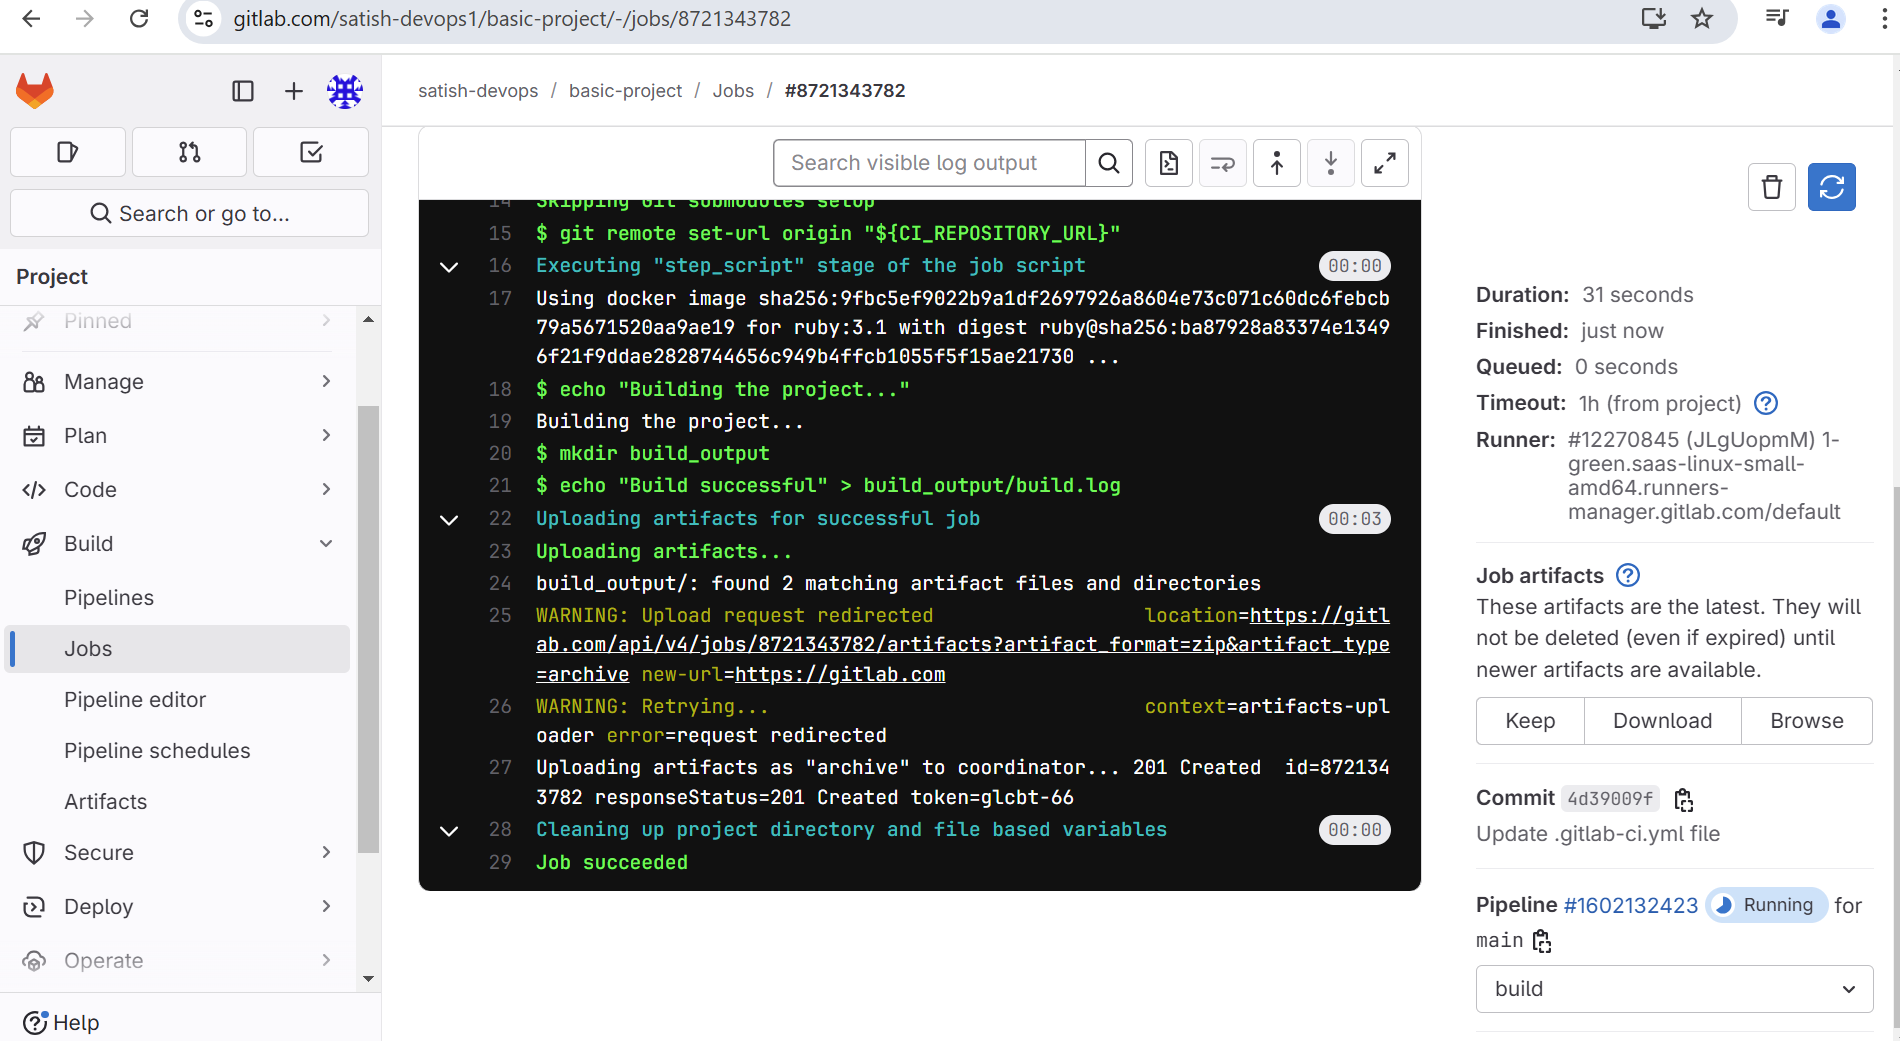
Logs for each job by clicking on the job name (e.g.,
build,test,deploy).Artifacts that were created during each job.